Deploy Usage Meter using API #
Execute the respective API call from the postman Collection after changing the environment variables and parameters.
API Procedure #
Usage Meter can be deployed as well using an API call, sample postman collection can be referred for the deployment.
However, the product documentation needs to be followed for successful deployment.
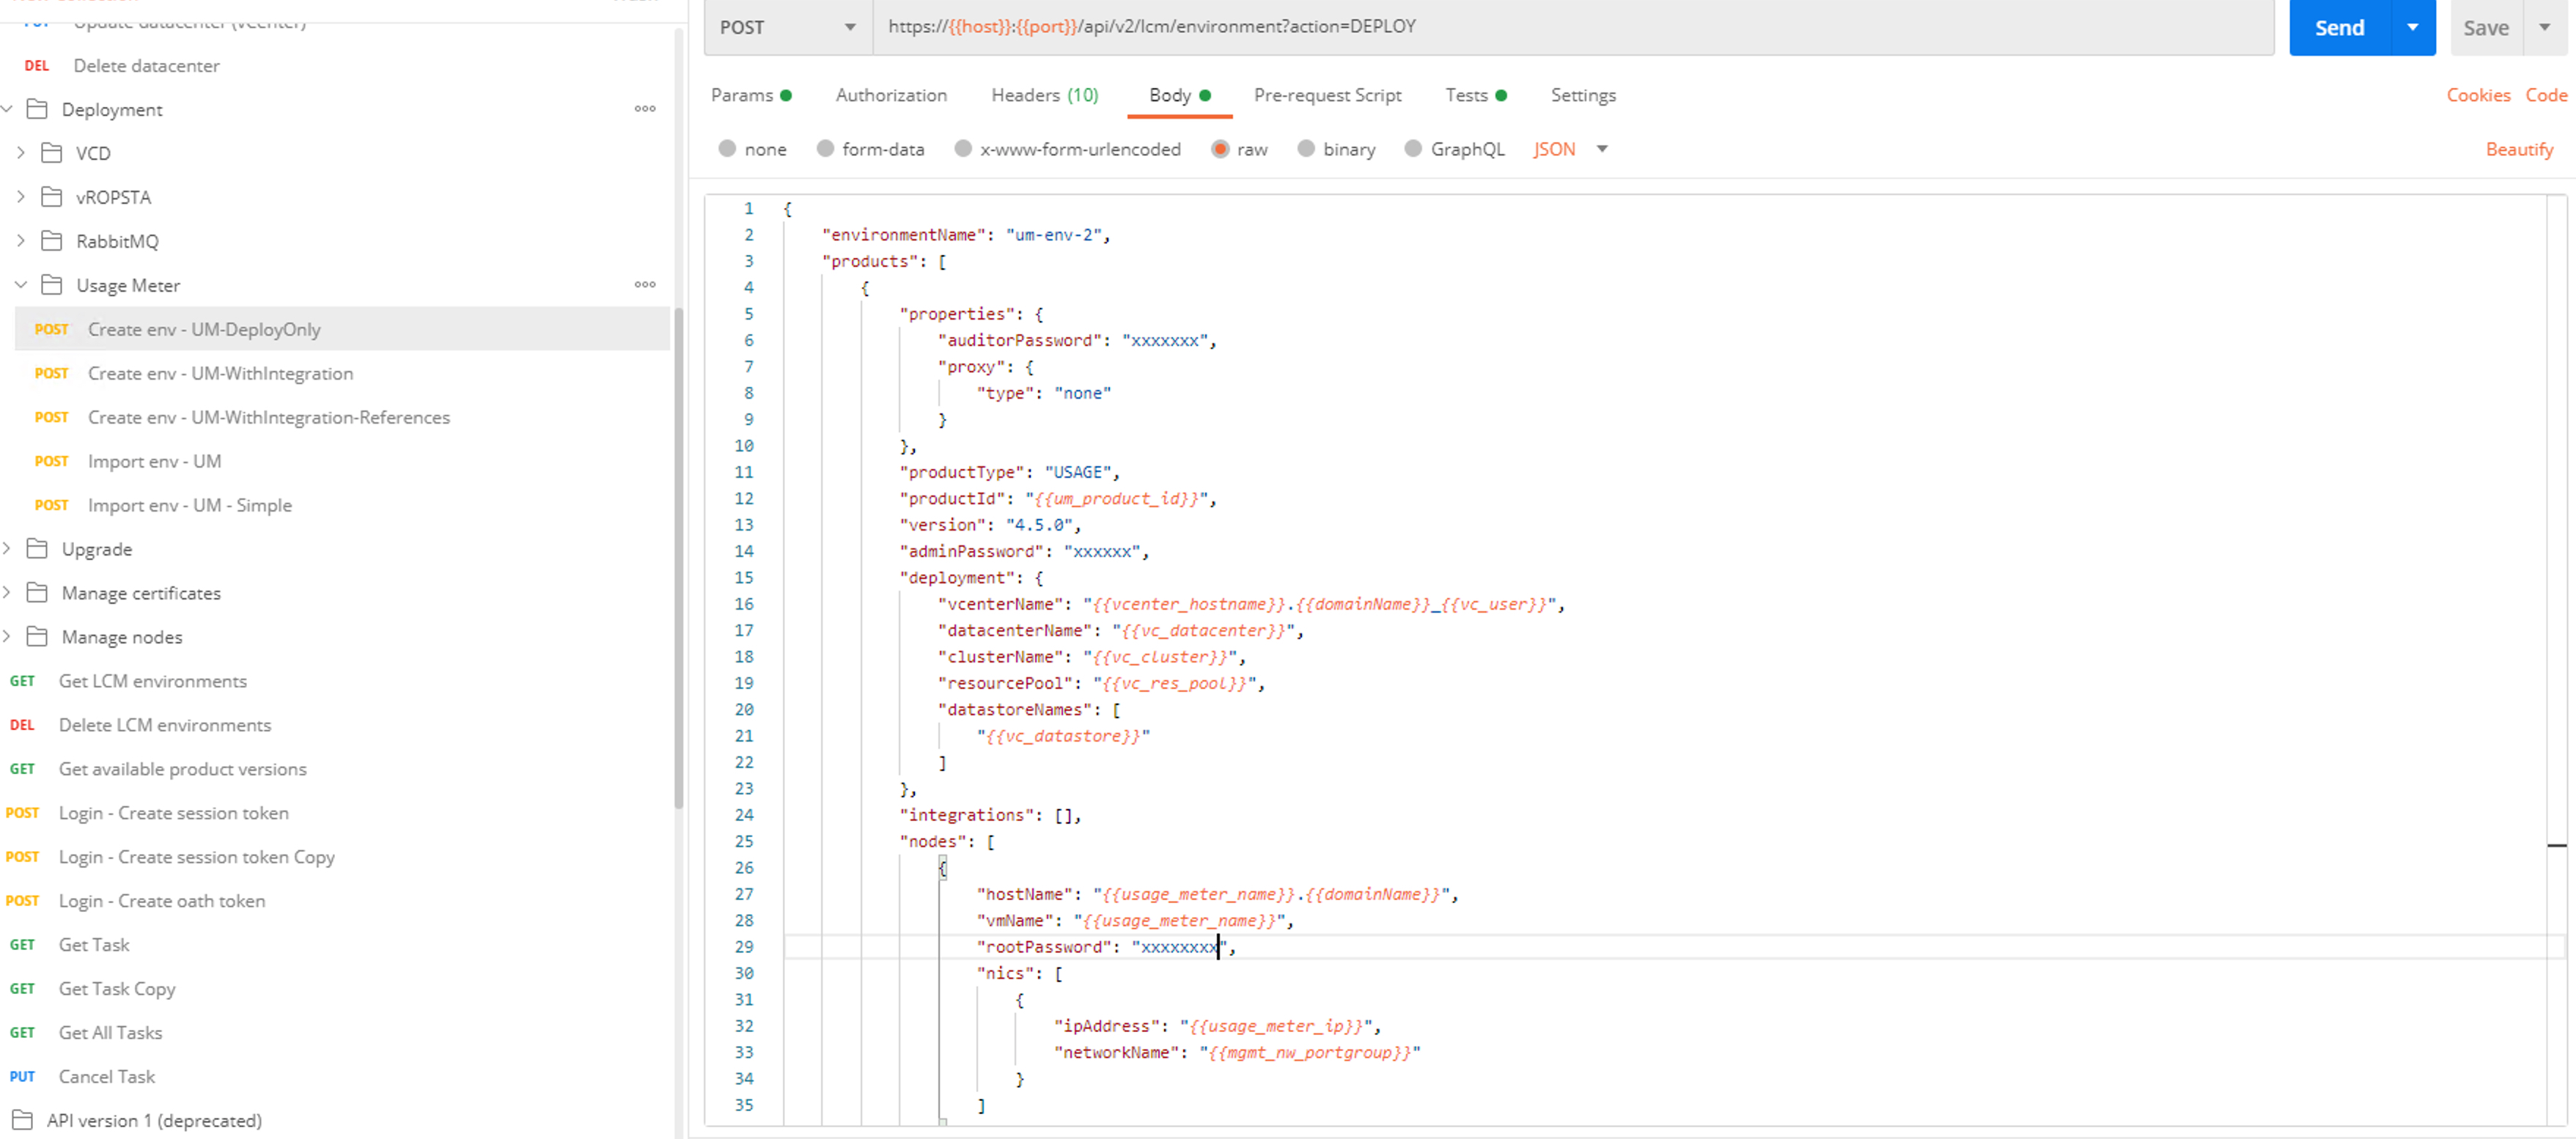
To deploy one or several products, a Lifecycle Manager environment must be created. An environment can be created using the below POST request.
Method: POST
URL: /api/{apiVersion}/lcm/environment?action=DEPLOY
Header: name: JSESSIONID – value: a valid jsessionid
Sample bodies #
Deploy Usage Meter - API call at a high level #
-
Define Environment Name and ID
-
Products
-
Properties:
-
Auditor password (password for UM auditor account, having read-only access to config and logs)
-
Proxy (Type, Host IP, port, user, and password)
-
-
Product Type
-
Product ID
-
Usage Meter version
-
Admin password
-
Deployment
-
vCenter name and user
-
Datacenter
-
Cluster
-
Resource pool
-
Datastore
-
-
Integrations
-
Provide Usage Meter-vCenter integration id, vCenter host details with admin login credentials
-
Usage Meter-NSX integration id and NSX host details with admin login credentials
-
Usage Meter-VMware Cloud Director integration id, VCD host details with login credentials.
-
Usage Meter-vRealize Operations Manager integration id, VROPs host and login credentials
-
-
Node Information
- Hostname, VM name, root password and network details like port group name, gateway, subnet mask, domain name, etc. of usage meter to be deployed.
-
**Note: **Usage Meter should be registered in VCP after deployment (and then re-run deployment to configure the collectors).
We don’t need to provide deployment infrastructure details like the earlier version as we are registering the datacenter first using the methods mentioned and then proceeding with product deployment or management.
Note: Please refer to the API reference and POSTMAN sample collection on code.vmware.com for detailed APIs.
Response
{
“taskId”: “1”
}
If the response is OK (200), the request to create the environment has been accepted and is being processed asynchronously.
The returned taskId can now be used to check the status of the deployment.
Retrieve Task Status #
To verify the status of a running task, a GET request must be executed.
Method: GET
URL:
/api/{apiVersion}/task/{taskId}Header: name: JSESSIONID - value: a valid jsessionid
Sample response:
{

"id": 1,

"subTasks": {

"c6765081-c5bf-4386-a3d8-498c84e8e497": {

"name": "LcmDiscoverStep-USAGE-4.4.0-DISCOVER",

"status": "SUCCESS",

"message": \[

{

"name": "Discover product",

"status": "OK",

"message": "Successfully updated product state.",

"start_time": "2021-04-08-15:23:06UTC",

"end_time": "2021-04-08-15:23:55UTC"

}

\],

"nextSubTasks": {

"SUCCESS": "28d7b09e-d16c-4dc3-ba98-17679b989b2f"

}

}

},

"status": "SUCCESS",

"message": ""

}
Possible values for the status are:
-
IN_PROGRESS
-
SUCCESS
-
ERROR
The message field of the task contains response messages from different steps of the task. For example, pre- and post-validation results are listed in the corresponding sub-section within the messages.
Cancel a Task #
To cancel a running task, a PUT request must be executed.
Method: PUT
URL: /api/{apiVersion}/task/{taskId}?action=cancel
Header: name: JSESSIONID - value: a valid jsessionid
Expected response code: 200